Troubleshoot Nested Virtualization
How to Fix Nested Virtualization Error?
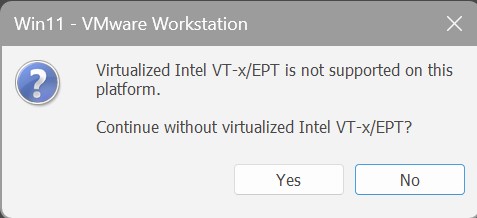
If you get below error, you are in the right place to fix it.
Step 1: Disable Hyper-V Features
- Open the Start menu, type Turn Windows features on or off, and press Enter.
- Uncheck the following boxes if they are enabled:
- Hyper-V
- Virtual Machine Platform
- Windows Hypervisor Platform
- Click OK and restart your computer.
Step 2: Run the Complete Hypervisor Wipe Command
Even if features are unchecked in Windows Features, Windows 11 Pro can keep a silent hypervisor state running.
- Right-click the Start Button and select Terminal (Admin) or Command Prompt (Admin).
- Type the following command to completely disable the Microsoft hypervisor at boot:
bcdedit /set hypervisorlaunchtype off - Press Enter. You should see “The operation completed successfully.”
Step 3: Perform a Full Cold Reboot
A normal “Restart” in Windows 11 often uses “Fast Startup,” which hibernates the kernel and preserves the hypervisor state.
- Close all open applications.
- Open your Command Prompt/Terminal again and run:
shutdown /s /t 0 - This forces a complete shutdown. Wait for the computer to power off fully, then turn it back on.